Phicen Photos - Blog
Category: Photo Studio - Diorama
Photo Studio - Diorama - Build 6
Posted Date: 3rd May, 2021 06:04:00PM
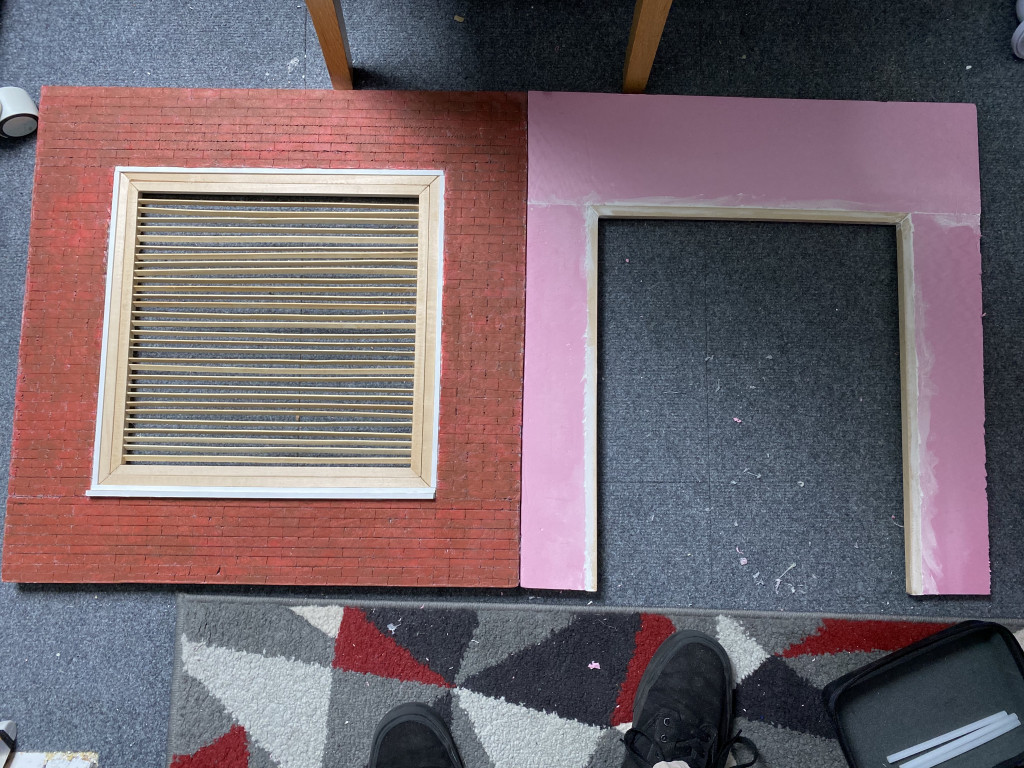
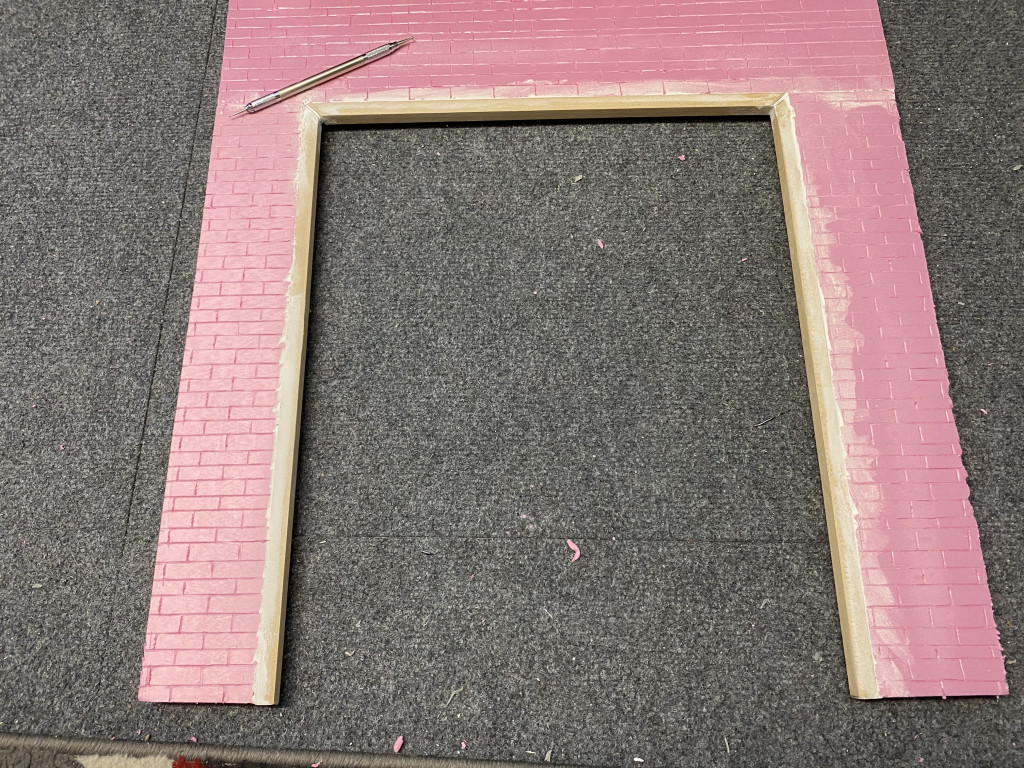
Since the manufacture of the door, more progress has happened.
I've worked on the bricks on the outside of the door wall...
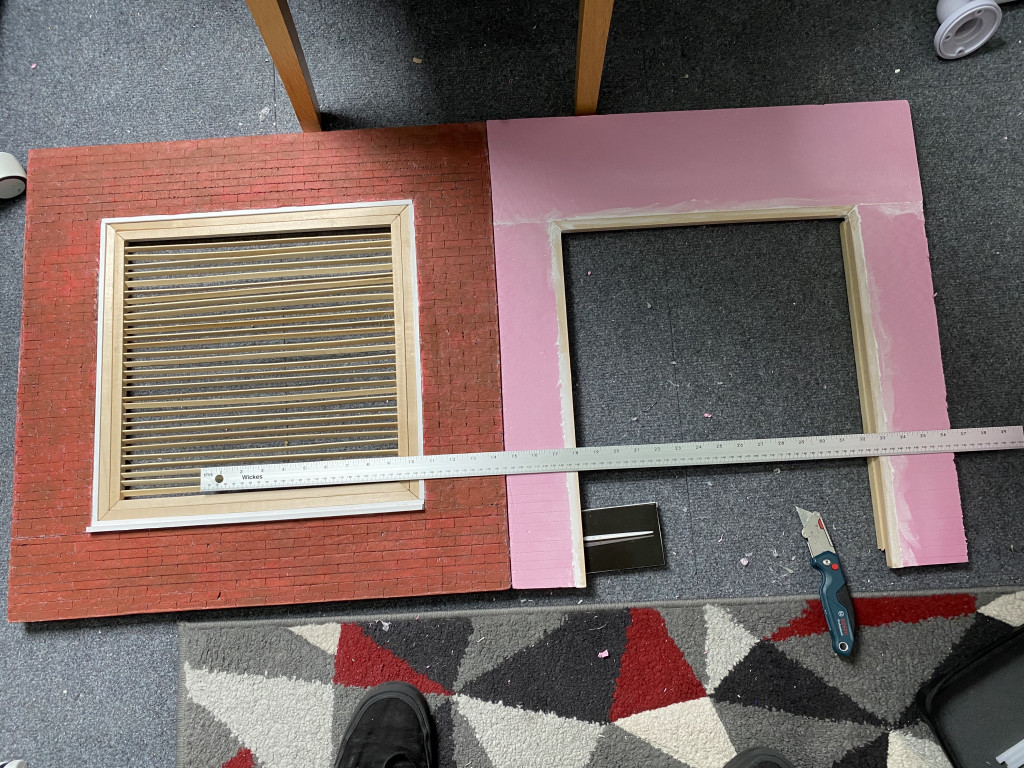
First off, attach the magnets on the side of the wall. Two magnets were places on one wall, and then pushed into the side of the foam to make the indentation. Then with one magnet only, I pushed that on its own into the wall until it was flush to the wall. Then with hot glue, the magnet was glued in place. This was done with three magnets down the edge of the wall. Once the glue was dry. a matter of seconds. I attached the second magnet to each of the other magnets making sure the polarity was attract. Then pushed the other wall against them where the walls would line up. This is so we can get the correct indentation on the second wall. Once that was done a magnet was used to make the indentation deep enough for the magnet to be flush. Then the fun starts... I placed that magnet back onto the first wall on top of the magnet there, so polarity was correct, then put some hot glue onto the second wall, and pushed them together. This ensures that the magnets have the correct polarity to pull the walls together. This was repeated for all three magnets. Then the wall is joineed as below.
Now we start scoring. Doing the magnet/scoring in this order makes sure that the scoring is aligned across both walls. I have a 36 inch ruler that helps to keep the scoring aligned over the garage door opening.
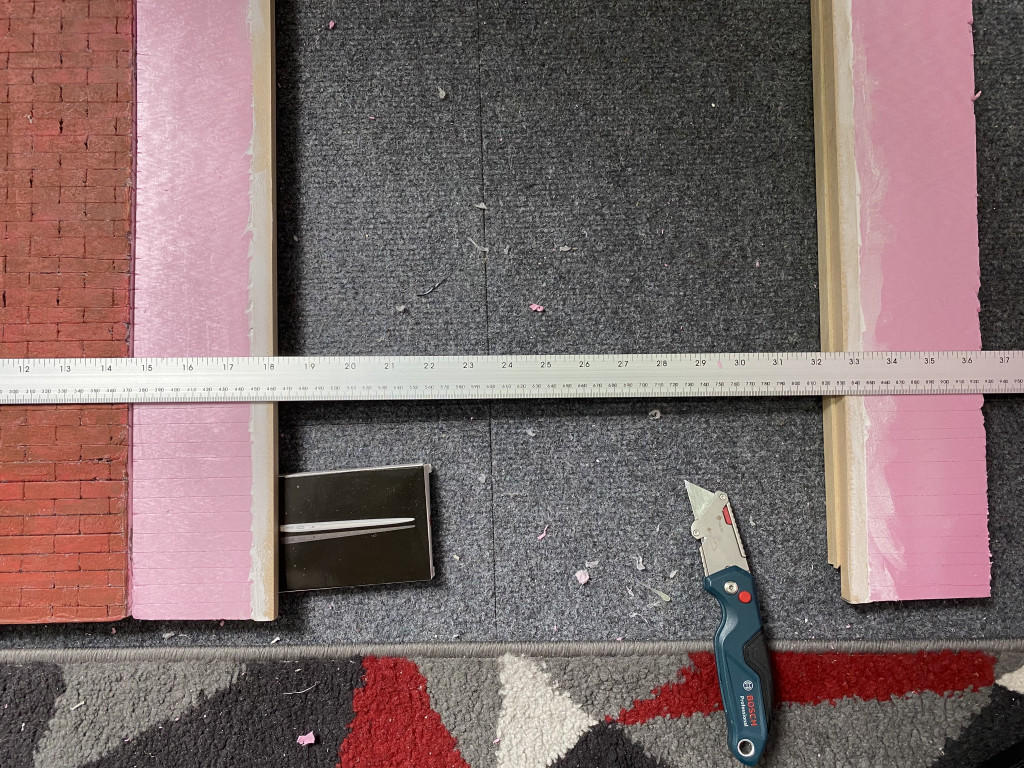
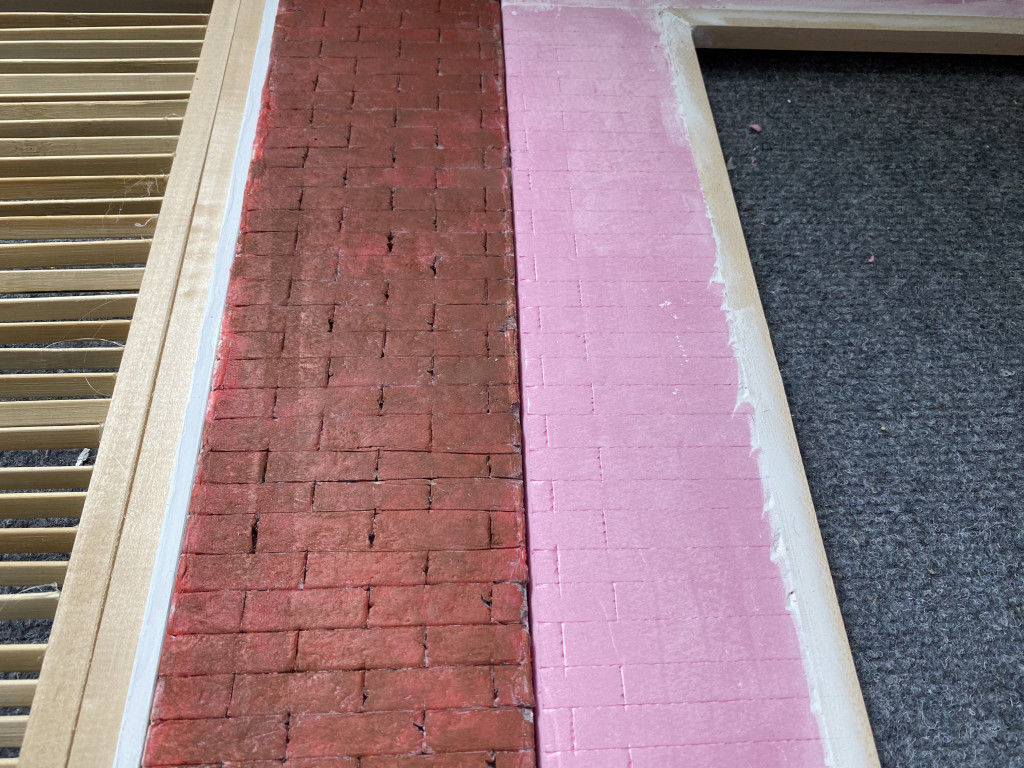
Initially I just use a knife to very lightly score the bricks, then I use a scoring tool to make the scoring more pronounced.
All scoring done. Now for painting. I won't bore you with all the same details as before on how I painted this. But it was difficult to exactly colour match the walls, however, I did manage it in the end.
The next day was painting the other side of the wall white... It was suggested to me to use PVA first, and then paint. My last experience of that was the paint cracked. I now believe that was because the PVA hadn't dried completely.
So now using PVA again, and I swore I'd never do it again. Then letting it dry overnight, and then painting, I didn't experience any cracking. So, I am pretty sure that was my issue. I've since painted that wall, and then added a top PVA coat. This gives the wall a Silk sheen, rather than flat matt.
I then took all the other walls, that will need paint, and made a mix of PVA and Paint together. The thought process here was that the combination would help start the painting process as well as put the PVA protection on. That will be left to dry until the next day.
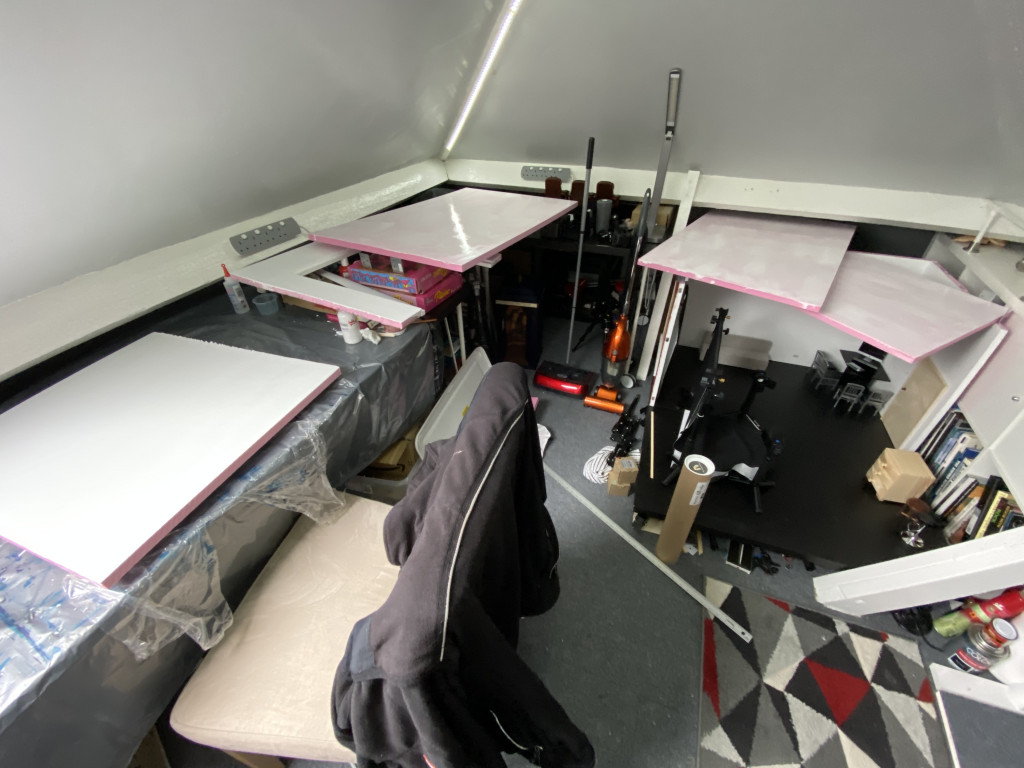
So many walls!!!!! Until next time.