Phicen Photos - Blog
Category: Photo Studio - Diorama
Photo Studio - Diorama - Build 5
Posted Date: 28th Apr, 2021 01:21:00PM
Update on the garage door.
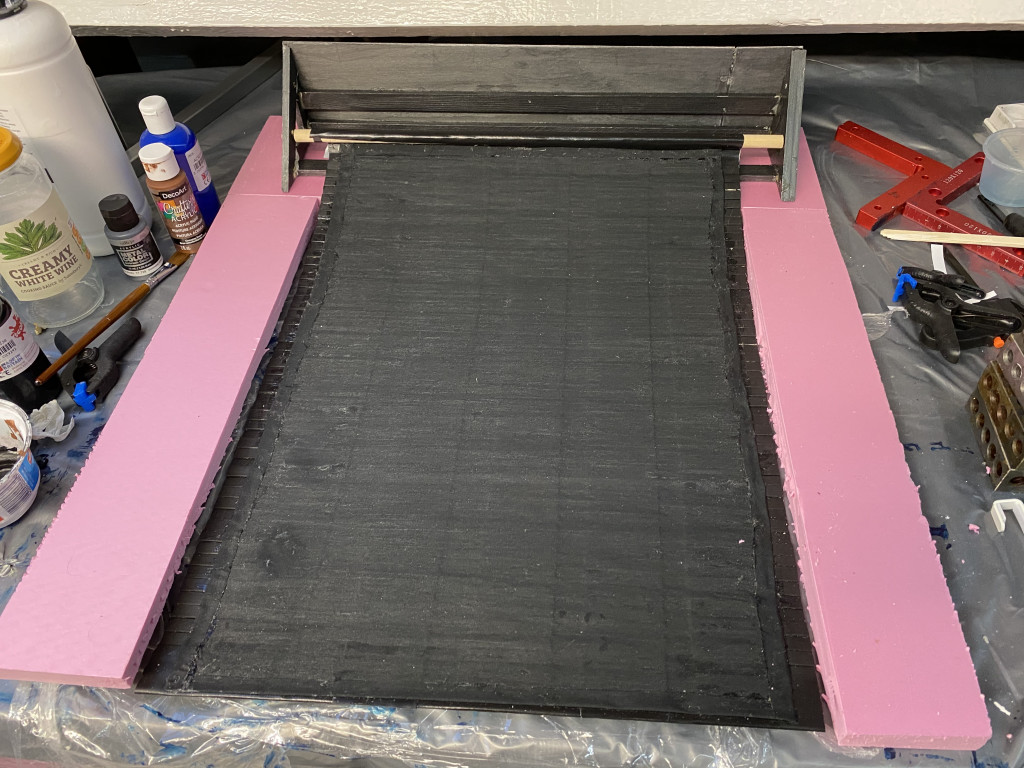
Firstly, as the Proof of Concept seemed to work, I started out today lining up a bunch of slats... Measured up to 21 inches of them... Then attached them all with scotch tape first, just to keep them in place, then placed black Duct Tape to secure them properly. Once they were securely held, I trimmed the end, so that they were all the same size.

Here's the other side, as I started painting the slats black... As it is a modern dio, that is in a new complex, I've not worried about weathering them, at this stage. For use in future dioramas I may well weather and rust them.
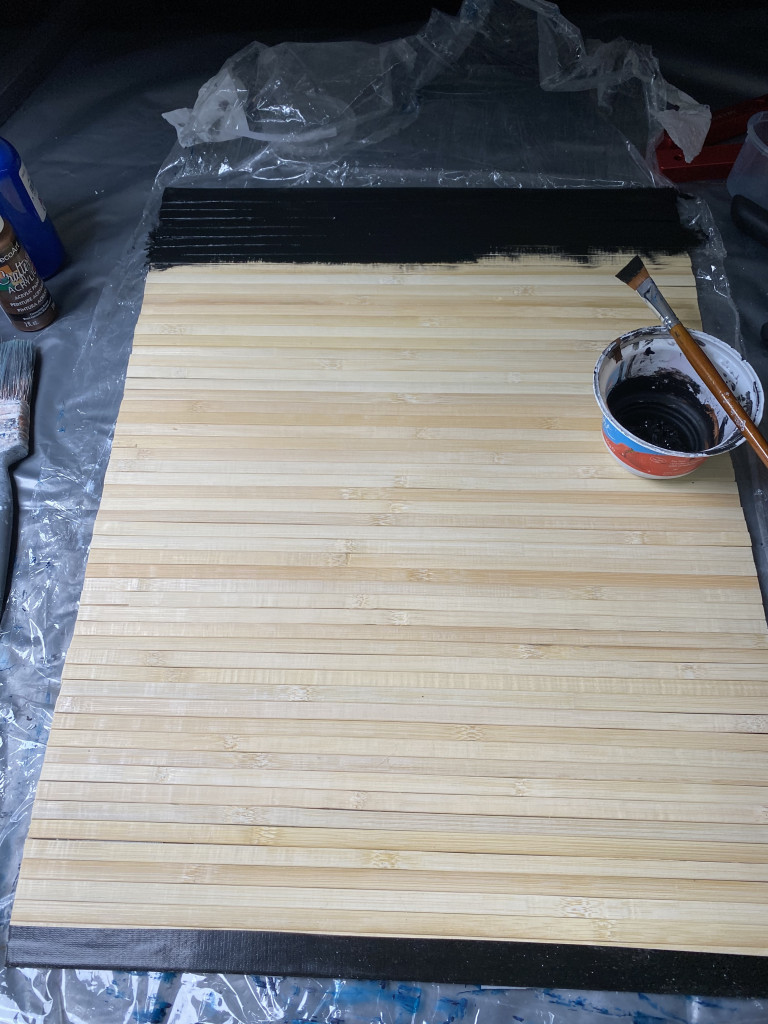
Then when the paint is on, but still wet.
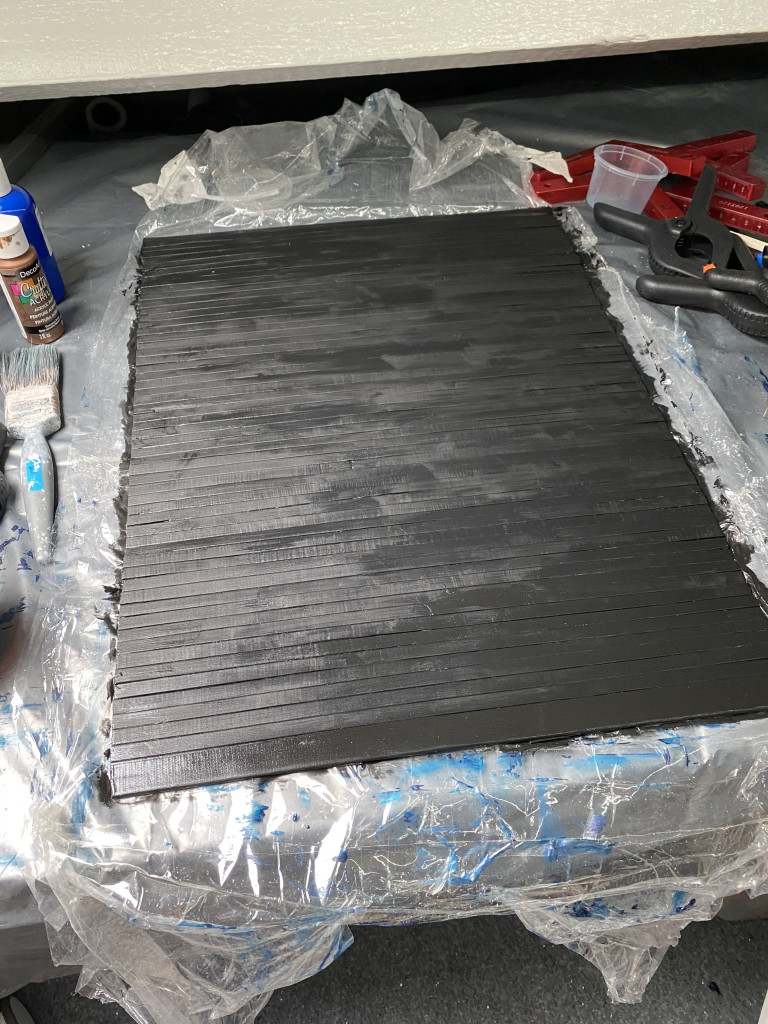
Once that paint was dry (after I had my lunch, and read a book for an hour), I then turned them over, and painted the ends, bringing the black to meet the first duct tape edge.
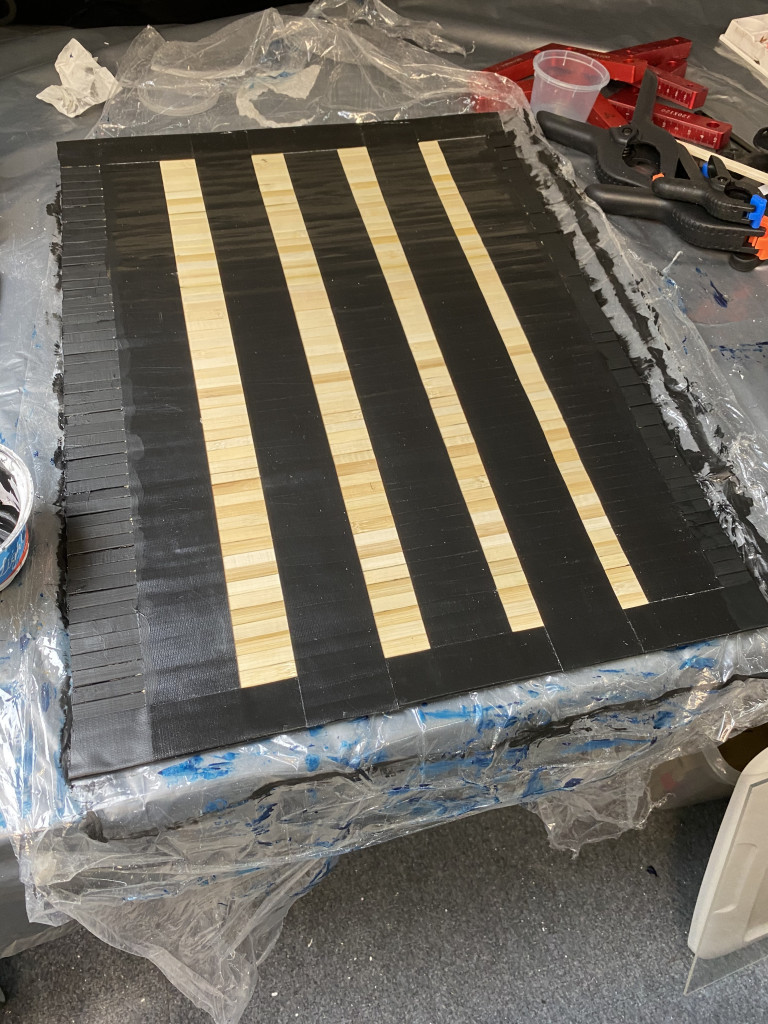
The thought process here, was that I wasn't sure if the duct tape would hold the slats indefinitely. So, decided to also glue some fabric to the back. Of course, I did first check there was enough room for the slats and duct tape to fit on my old backdrop structure. It did. Even though I did measure a few times just to be sure. It is close, but will work.
Next, was to start gluing the fabric to the back. I ended up using the old black backdrop fabric, that I wasn't going to use.
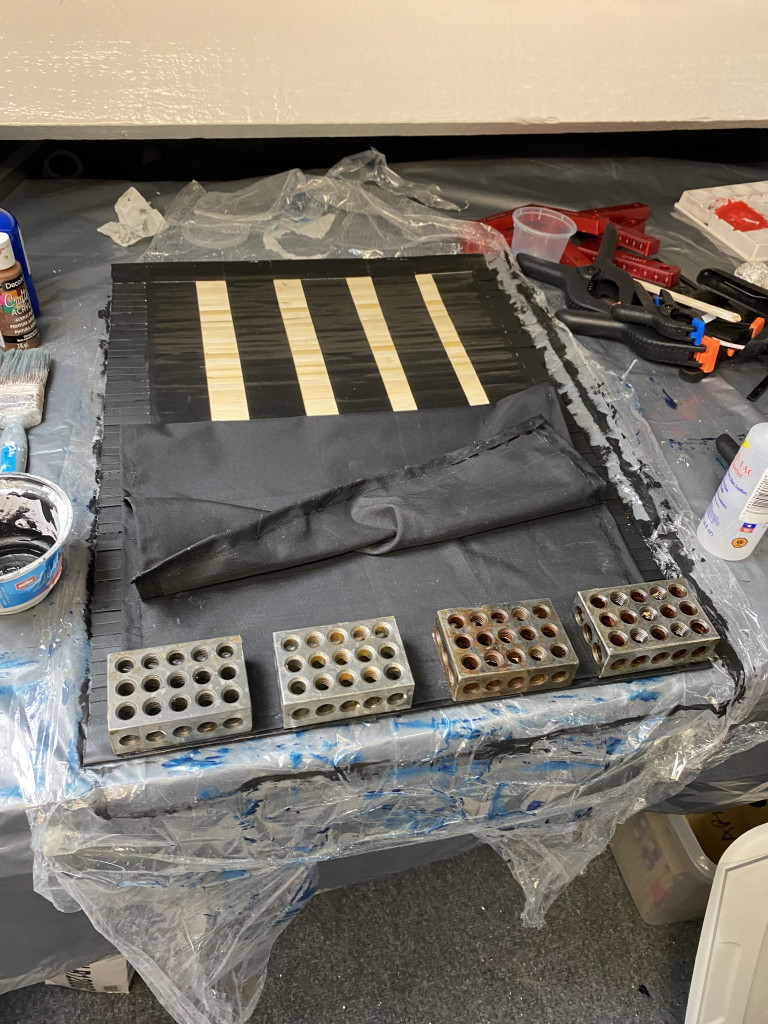
I used Fabri-Tac to glue the fabric to the slats. I also made sure to glue it to the duct tape. Now, I was half done, when I realised what an idiot I was. I put the fabric in place with the seams showing... Ah well. Wasn't going to rip it all apart now. It'll have to stay that way. Although, if I hadn't owned up to that, most likely no one would have noticed. 

In the above pic. The fabric has been glued, and pressed. Making sure each slat had stuck. Then I attached the whole thing to the old backdrop structure, I had made some time ago. Once the glue was setting, I then put another strip of duct tape over the join of the door to the rod.
Next, I used some off cuts to make the wall for the garage door. Here is the door sitting in the door opening.
Next, I will attach some wood strips to act as the channel/groove for the door to run down. That will be tomorrow. So far, I am happy with the results. The height of the opening is 18 inches. Should be plenty high for most things... Width of the opening is 15 inches.
I've decided that, unlike all my other dio walls, this wall will only ever be used for the garage door. So, I am seriously considering permanently attaching the door to this wall. Currently not sure the best method to do that. However, I know I have at least a couple of days to decide. I was going to use the same brackets that I've used for the curtains, initially. But that wouldn't be permanent. Maybe I'll still go that route.
The only other thing I did today, was to cut the missing side wall (the one next to the normal door), and place the other walls/ceilings in place (or on top of the other ceiling). There's a lot of painting to do, and magnets to attach... But it is getting there.
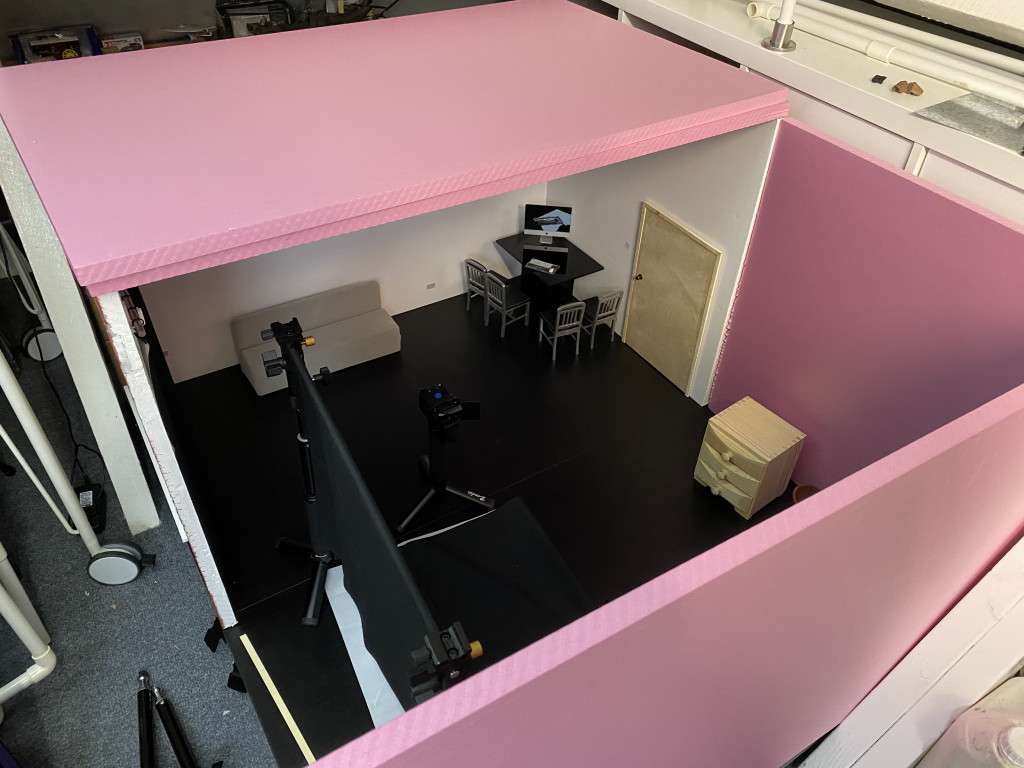
That should give you a rough idea of how it could look, inclusive of the fourth wall.
What I do find interesting, is that this dio just, and I do mean just, fits into a corner of the attic. On the right you can see the house roof supports, and on the top left, by the table leg with wheel, there is another support. This thing probably takes up around 1/6th of the attic space... That's all the update for today...