Phicen Photos - Blog
Photo Studio - Diorama - Build 2
Part 2...
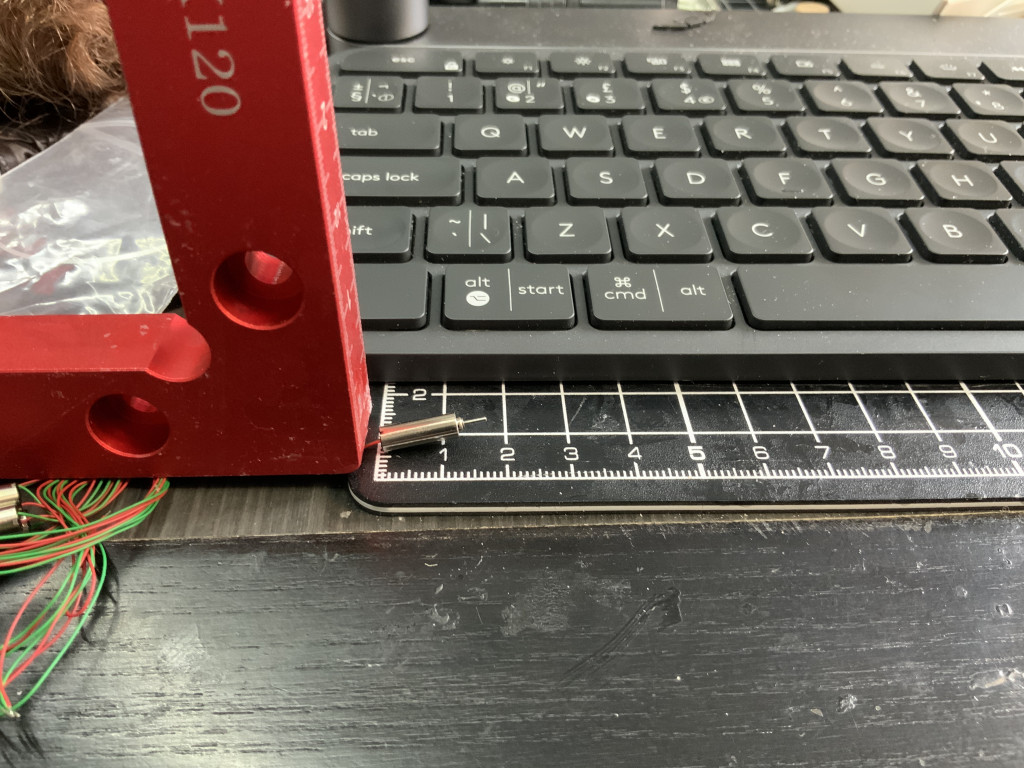
I managed to find some little motors, which were for R/C helicopters. I wired them up to a battery, and they worked.. Didn't seem very powerful, but I wanted them as part of the mechanism for a backdrop structure. More on this in a moment, but here's the motor, so you can see how tiny they are:
While I was looking into the motors, I was also running some tests with magnets, and different glues with the foam. I had a couple of offcuts, and some powerful earth magnets.
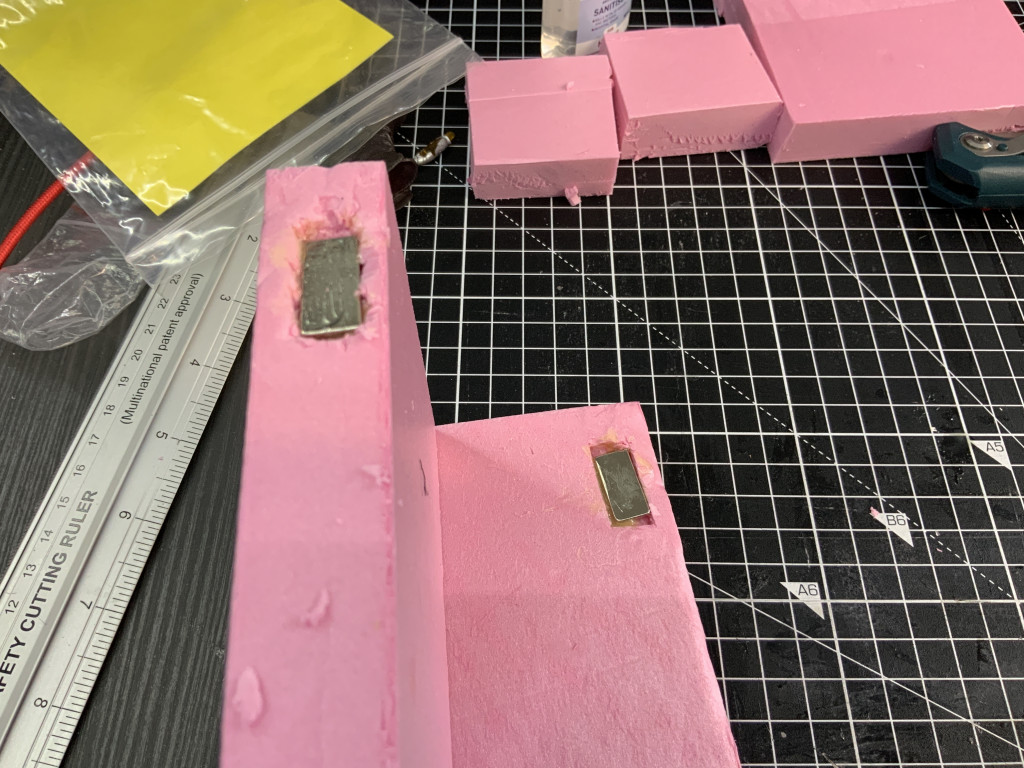
Not very pretty, but the idea was to embed the magnets into the foam (making sure I got the polarity correct) and see if the magnets would hold the pieces together. That way my traditional brackets wouldn't be needed. I make all my dioramas temporary, and collapsible. I don't have the space for permanent dioramas. First I tried some epoxy. Left it for 24 hours, and then tested. Normally the package says it will be fully cured in 24 hours. Well, it wasn't. Probably something to do with the foam or even something to do with the temperature overnight in my attic, where I do my hobbies. But the magnets came back out. So fail.
Next up I tried some very expensive Form-Cure, that RealSarahDactyl swore by. Expensive in the UK... £8 for 1 fl oz. I tried that, and after 24 hours, put the two pieces together, and it looked promising. I left them together for a couple of hours, and nope... The magnets had come out of their places. But I noticed, like with the epoxy, the glue was still a bit wet. So, another test, with the same glue, and I left it for 3 days. This time it was working. In the meantime, I was also working on the window frame.
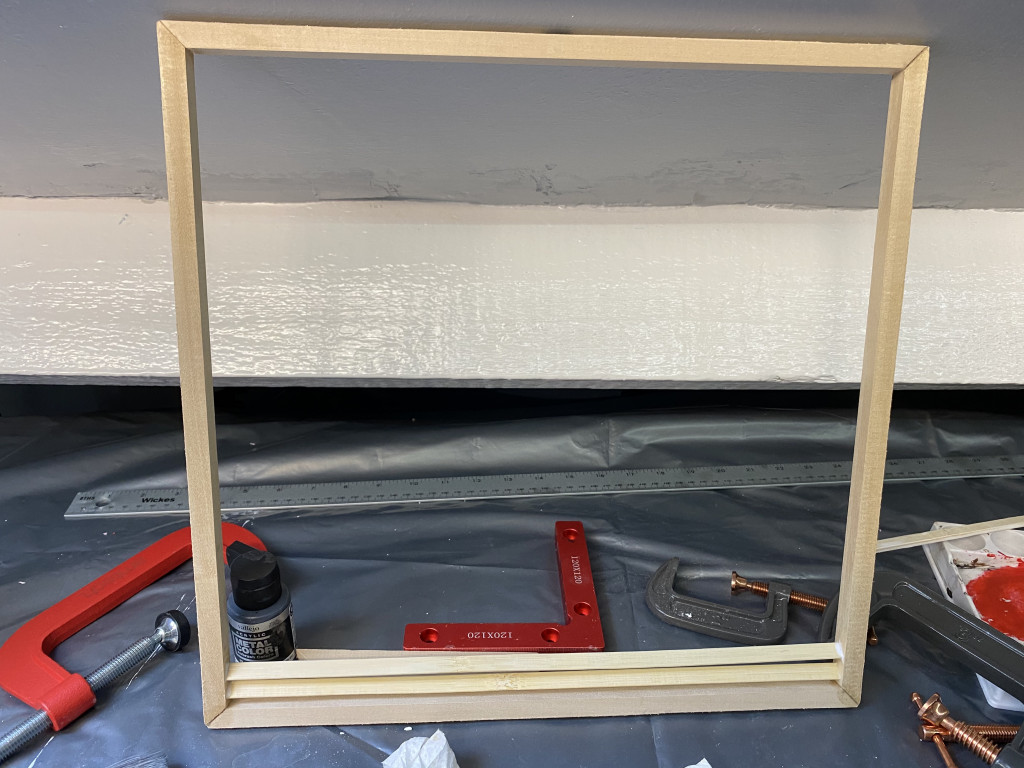
Windowsill in place, and more wood for the frame. I've left that part unpainted at the moment, because I wanted to create a blind that can be inset into it. So made a frame, the original wood I used was too flimsy, so used the same wood as the main frame.
The used thin bamboo for the slats.
It was slow going, as I was using my favourite glue, Mod-Podge. Normally it cures in about 10 minutes, but I was leaving it about an hour, before continuing, as it needed to be there pretty solid... This was going to take a very long time. Then Dave (aka_davidd), suggested hot glue... I always forget about hot glue... About 30 minutes later.
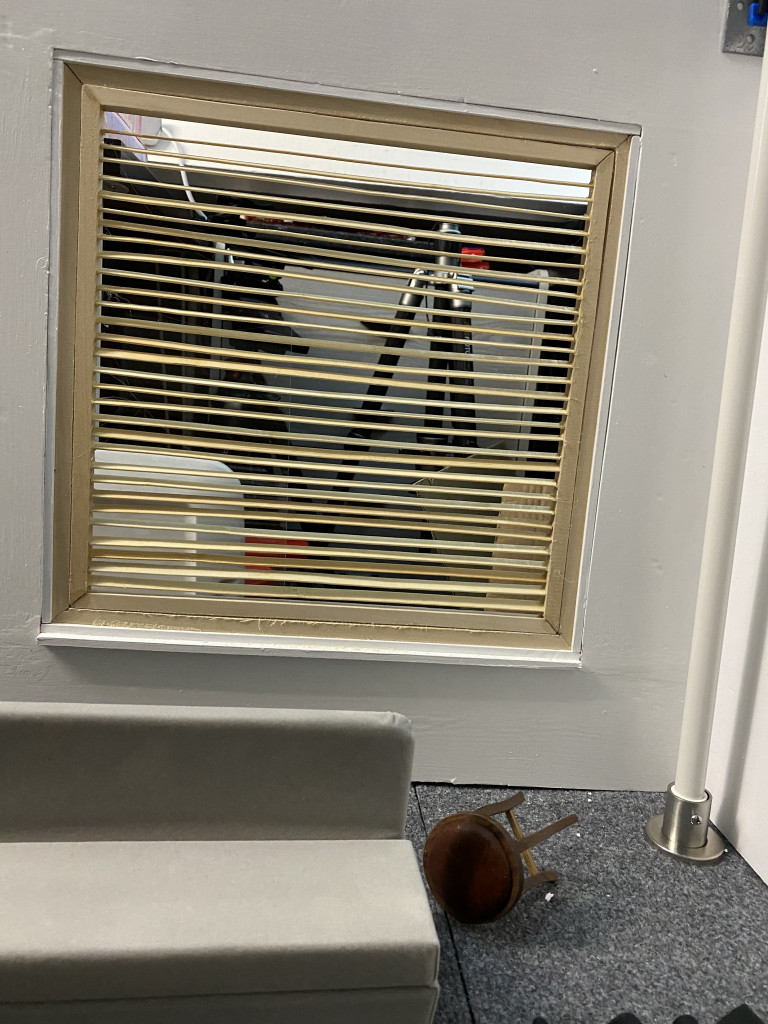
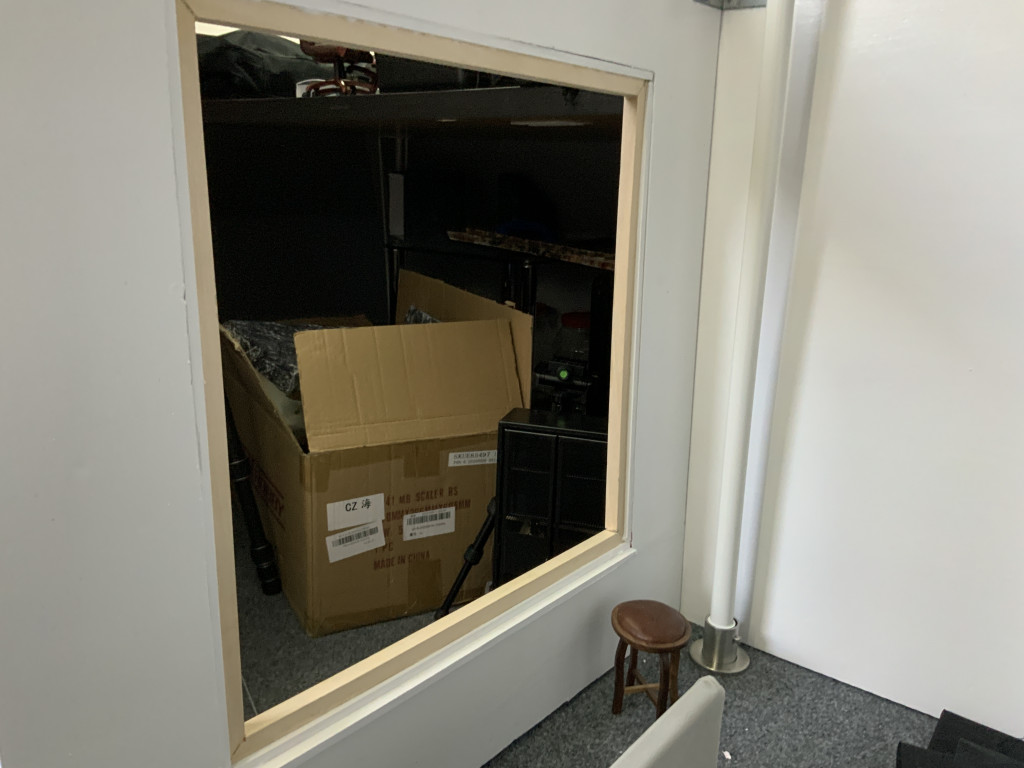
We have a blind. It isn't exactly functional of course, but it is only held in place with tension, so it can be reversed if I want the angle to be slightly different. You can't really see the angle here, but I was trying to stick to a 45 degree angle of the slats. But being reversible gives a further option. I may make another blind with the slats pulled up, and give the huge clear opening. I do need to add string for the blind control, but they are details to add nearer the end of the build.
Next task is the backdrop structure and mechanism. From experience of studios, some use a standalone stand for the backdrop, this is useful as it can be moved and placed anywhere, but can take up a lot of floor space. I wanted something that would look as though it was permanently installed. But I didn't want in permanently installed, because of being able to store things. So...
I had some photographic backdrop fabric that was double sided. I cut it to the size I wanted, and then separated the two sides of the fabric. I then hemmed the fabric with fabric glue, and stuck them to dowel rods.
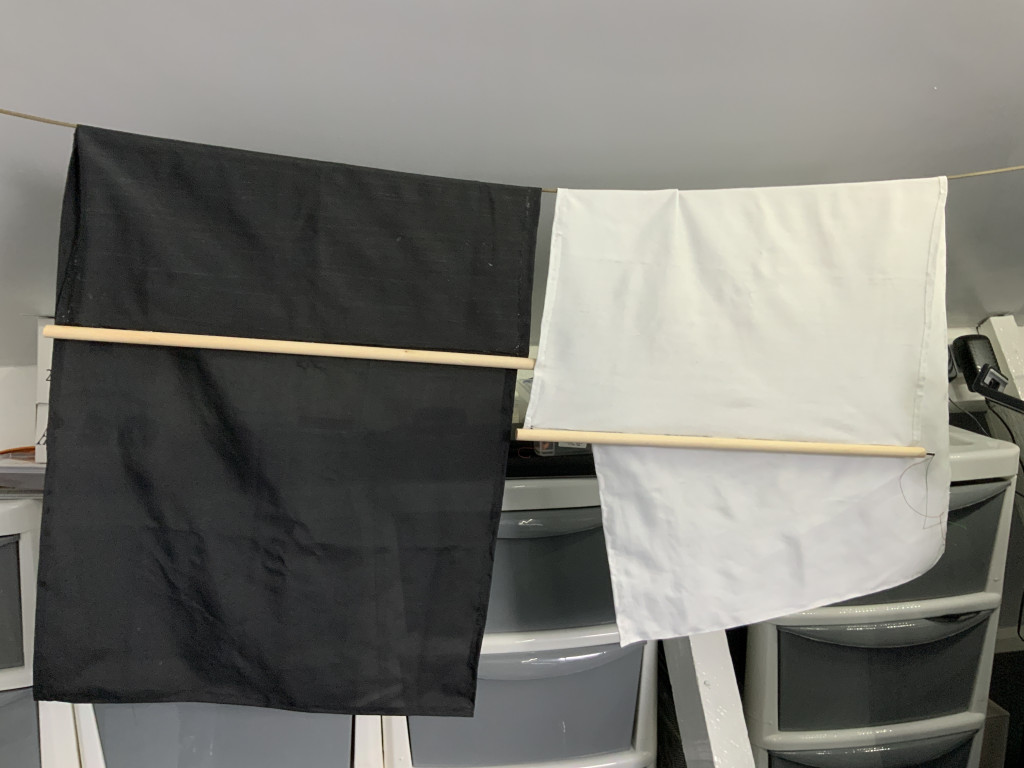
I also pushed the little motors into the centre of the dowels.
Here's the backdrop structure:
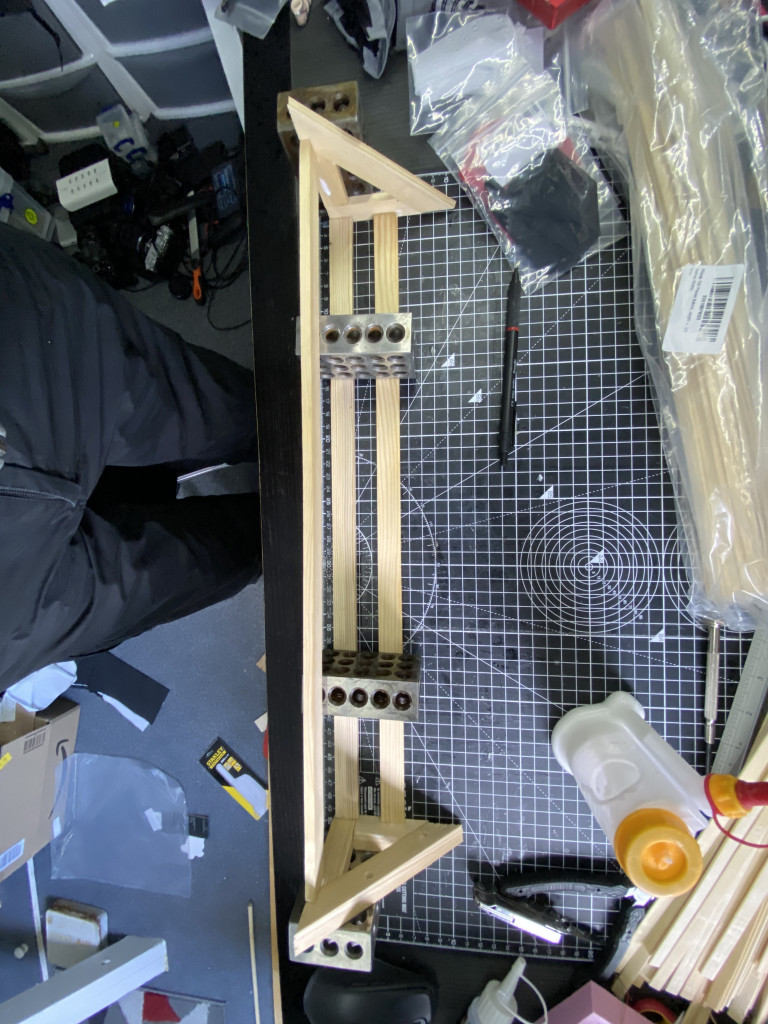
These were glued with my favorite glue... Also forgetting about hot glue again.
I then painted it Gunmetal Grey and attached the rods once it was all dry.
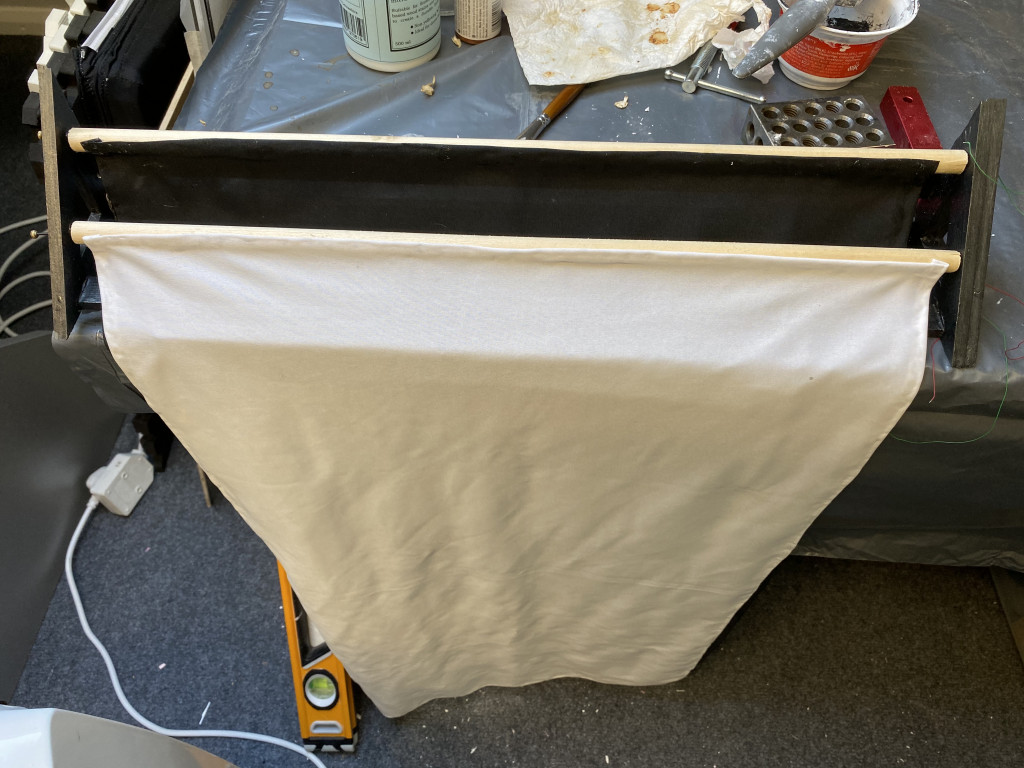
I think you can see how it is going to work...
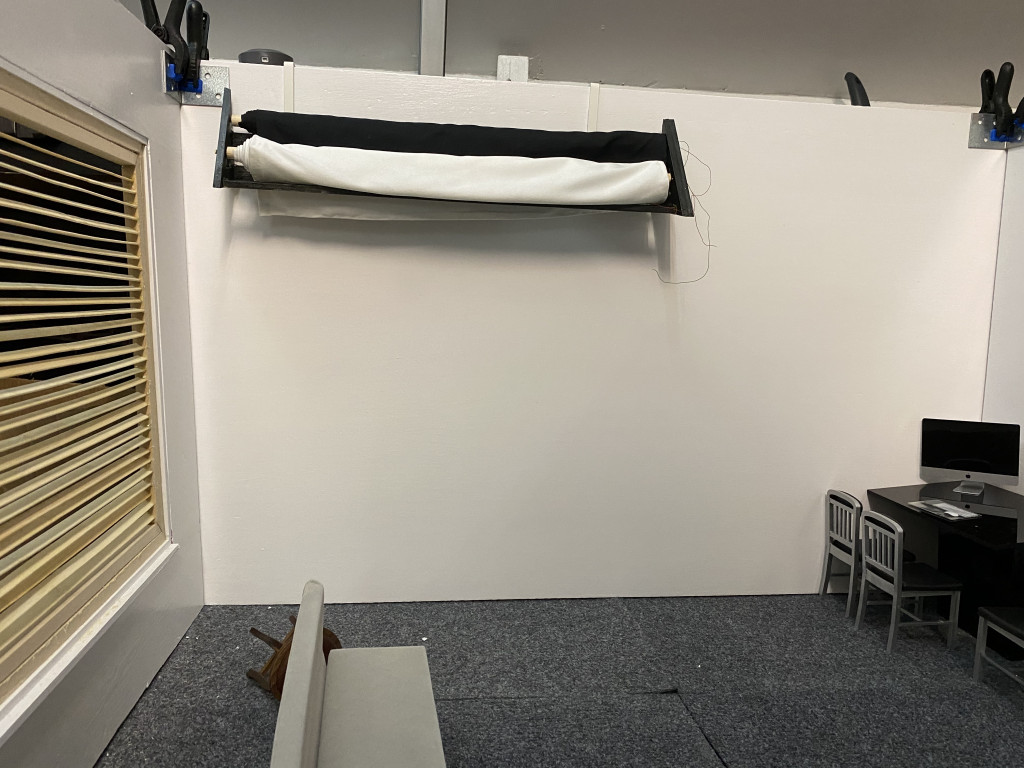
I got some little brackets that attached to the top of the wall, and one of the supports of the main structure. I was pretty happy with that. Next a little test to see how it looks with a backdrop down..
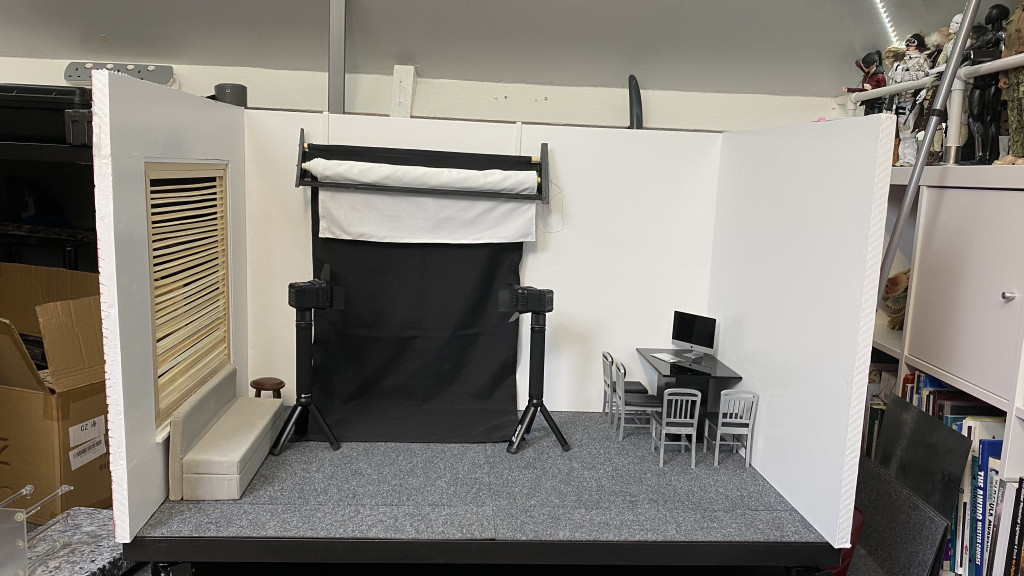
I was really happy. Plus my Lume Cubes on some stands will convincingly work for studio lights, especially as they actually produce a lot of light too. Controlled via a phone app, or manually. Also, at this stage putting some of the items I already had in place, it is starting to take shape...
Now for the bad news... The glue I used just wasn't strong enough for that backdrop structure, and by the time I came back from dinner, it had collapsed. I then used Dave's hot glue, to put them back together, and cut some plywood to go along the back of it, painted, and when dry, glued it back in place. This is currently sitting on a table drying. It has been there 24 hours, but I'll leave it another day to be sure it is completely dry before proceeding.
You may notice that there are no clamps holding the walls together at the tops. The walls are now being held in place with magnets. Actually, I performed a third test, using hot glue on the foam. It didn't melt the foam, and after leaving it for 20 minutes, I performed tests by connecting the test wall, and removing it over 50 times, and then leaving it connected for 2 days. The magnets haven't budged with using hot glue... So that is what I went with, and instead of cutting out segments for the magnets, I just pushed them in place before gluing go make the indentation. This is a game changer in my mind. I can even have a roof/ceiling on the dio held with magnets, and not worry. I am planning on a roof, just haven't yet got around to it...
Part 3 to follow once further developments have taken place.... To be continued.