Phicen Photos - Blog
Photo Studio - Diorama - Build 1
A suggestion was made to me about making a dio of a Photographic Studio, and that just rang bells with me. Being a photographer, as well, just seemed the right thing to do. So, here's a few images, of the work in progress. It is still quite a long way from being completed, but thought I'd share anyway...
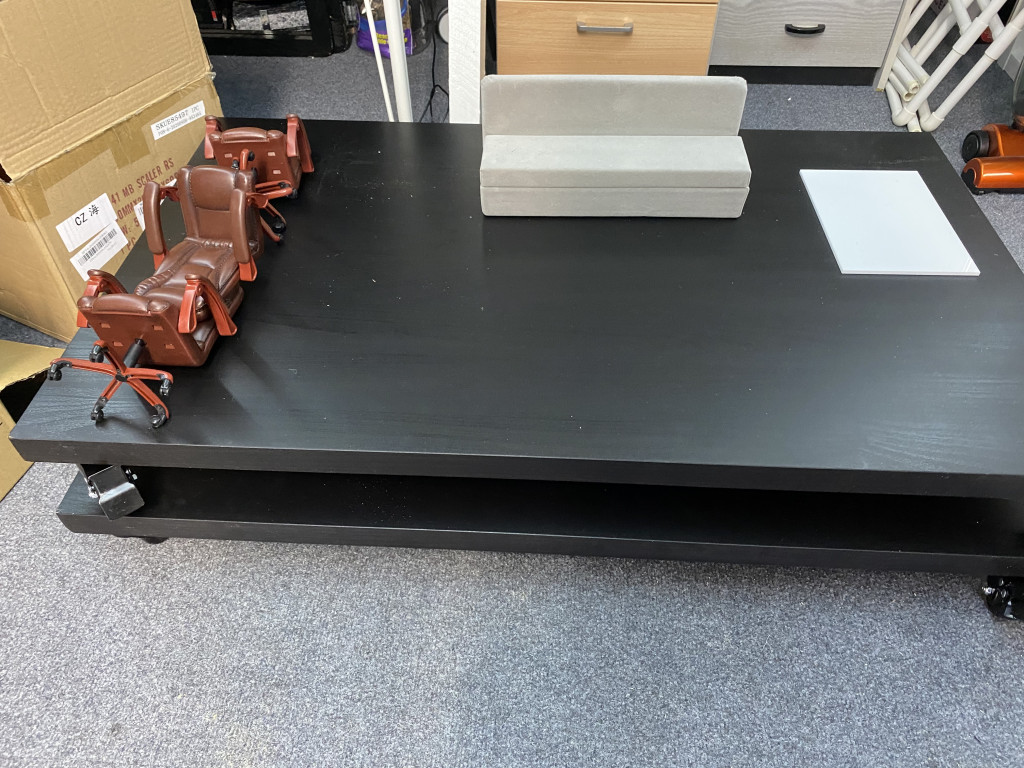
So, first off, I got some table tops from Ikea, and put some casters on the bottom of them. This is my dio base. I can use one, or two joined together (I still need to decide on how to clip them together - something to work out in the future, right now, I only need the one). Funny enough, when they arrived one of them arrived scratched, like someone had put a knife across it. It was probably the top of the package to arrive, and when they cut the box open it sliced into the table top. But, they still shipped it out. I complained, and they've since sent a new replacement one. I was and they're letting me keep the scratched one (that's the underneath one). The casters have brakes on them, so they won't move...
For the walls, I ended up getting insulation foam... This was RealSarahDactyl's (From a forum called Men With Dolls) suggestion. I went with the big ones, 1 metre x 60cm x 2 cm. Nice and thick. I used to use foam board but that warps too easily. Especially if you make brick effects with scoring.
Next. I painted the walls after cutting one piece to make the side walls - Unforuntately I don't have a picture of this.
But I took one side, and decided I wanted a pretty big window, and with the off cuts, made a wall with a 40cm x 40cm window.
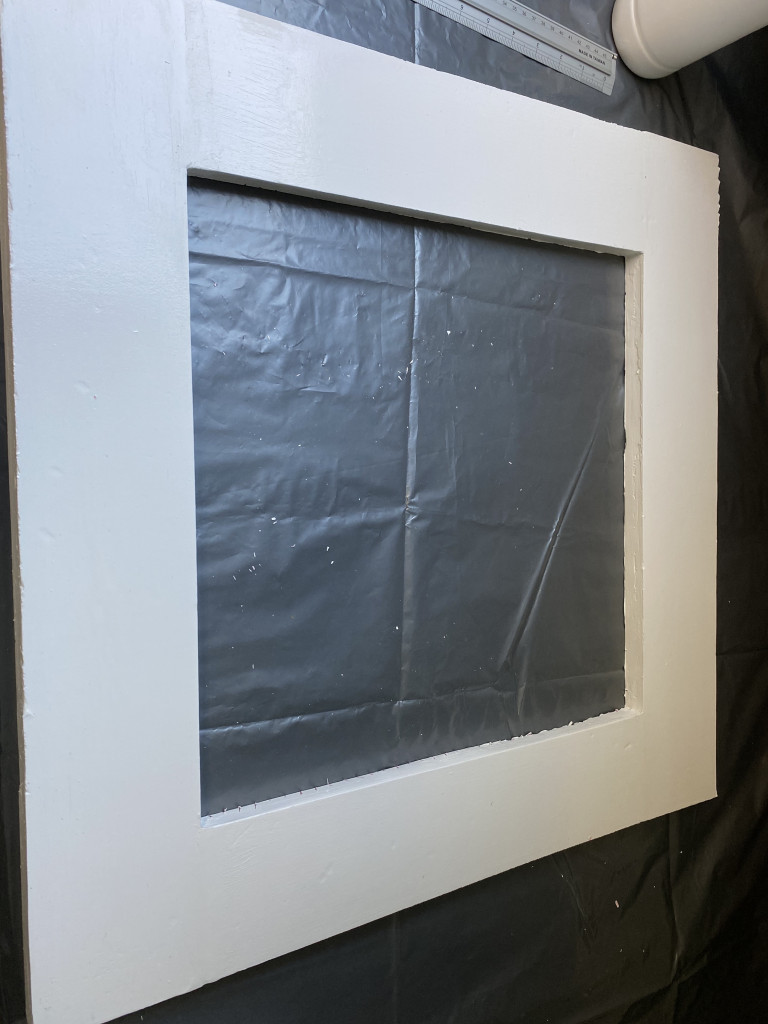
One side I painted white, as it seems most Photo Studios are painted with white walls. You can see my rather large window opening.
Next, it was time to make some brickwork on the other side. The reason for this, it allows me to take photos from the outside, looking in.
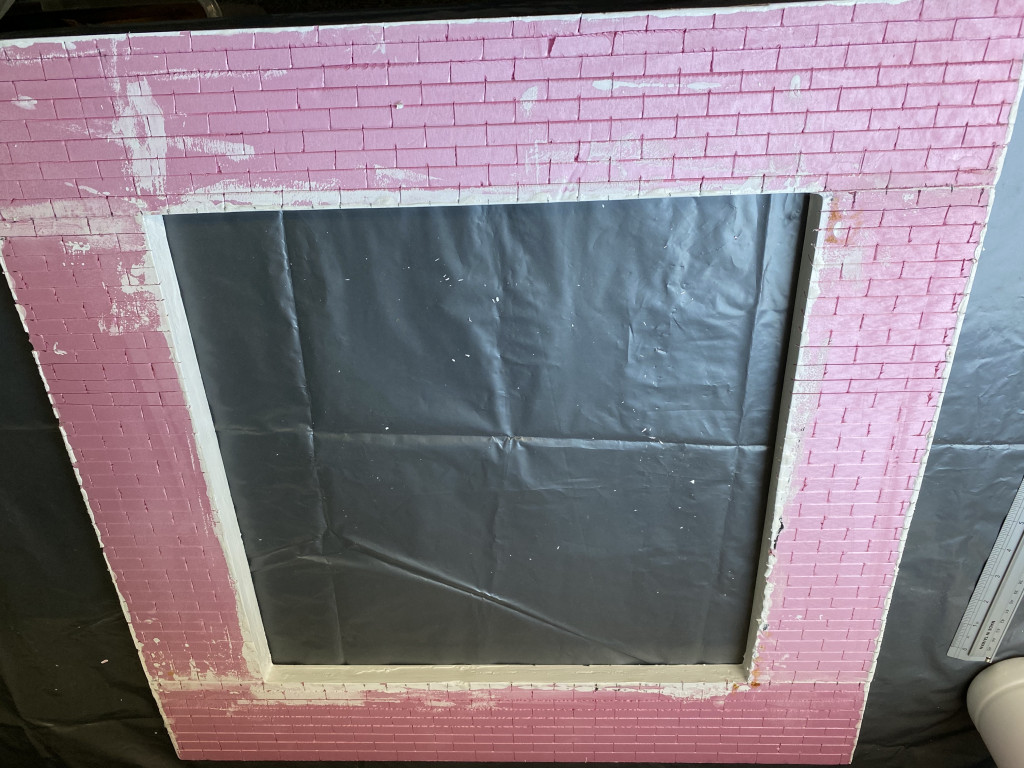
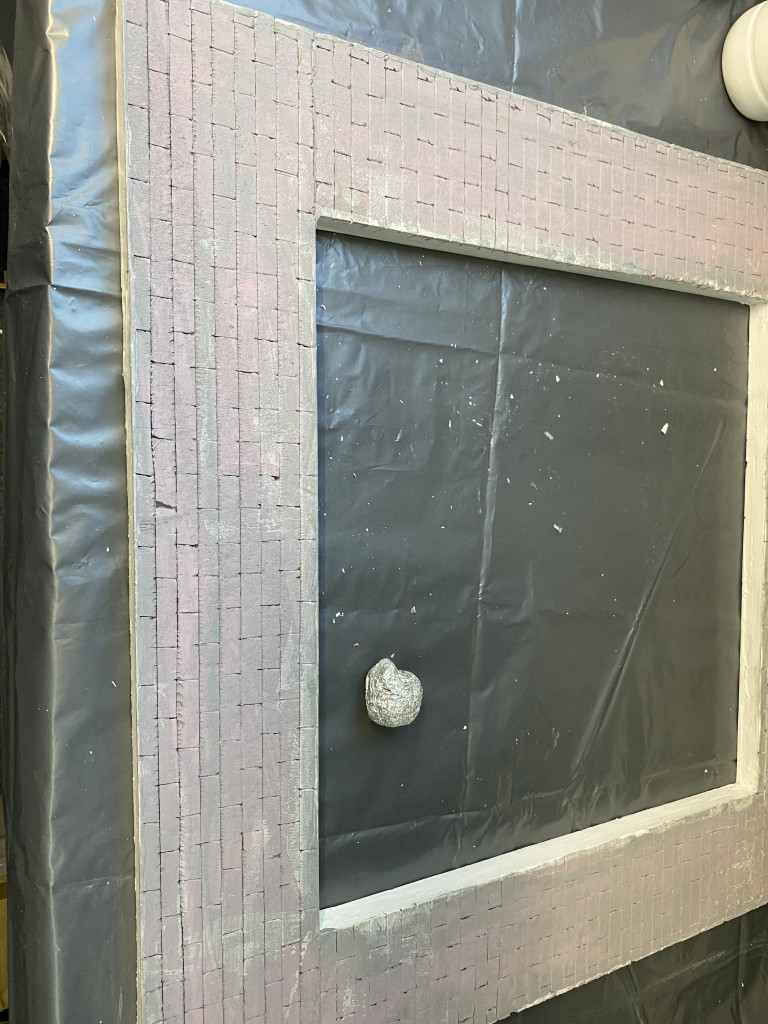
Here's where all the bricks have been scored. I then balled up a bit of aluminium foil, and rolled it all over the bricks for texture. Next was a wash of gray paint for the mortar.
Now, this is where the fun starts... I individually dry painted each brick, one by one.
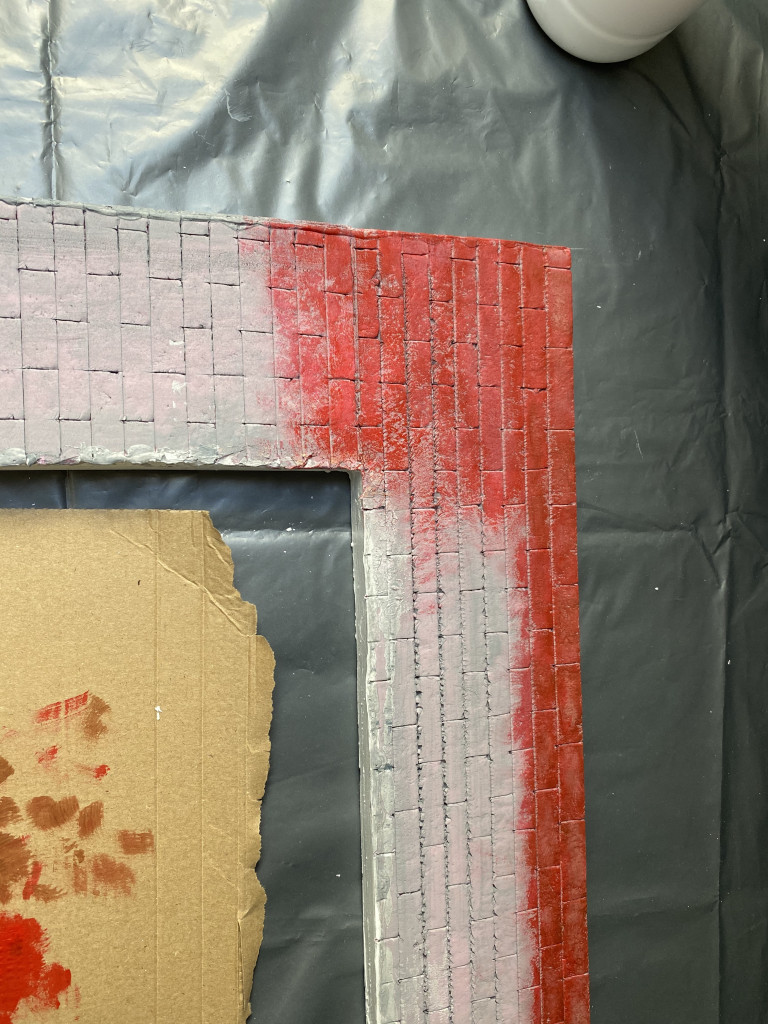
This was done with Scarlet Red...
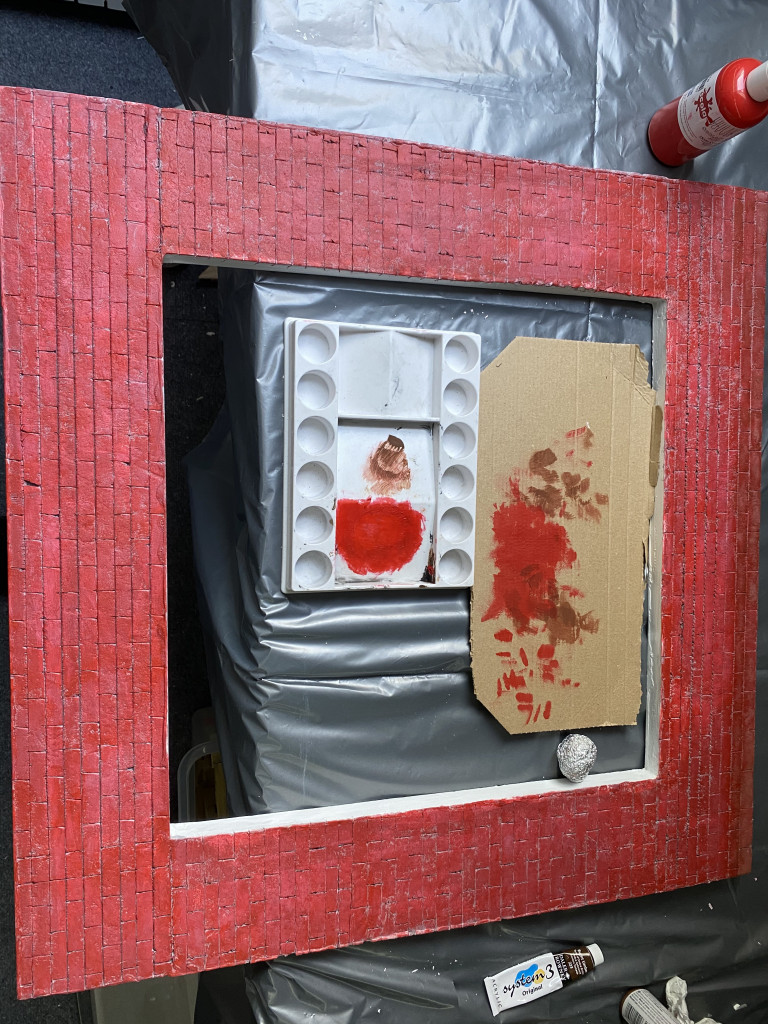
Looking very red... So to tone it down, I dry brushed some Burnt Umber brown onto the red... Just to try to give a more realistic effect.

As this is supposed to be an office area in a nice fairly new area, I didn't want to make the bricks look too beaten up. To be really honest, I was happy with the effect I'd managed to get. In the UK, bricks are different colours depending on region. The red brick is normally further north of the country. I know I live in London, and we have more yellow bricks. I just wanted the red...
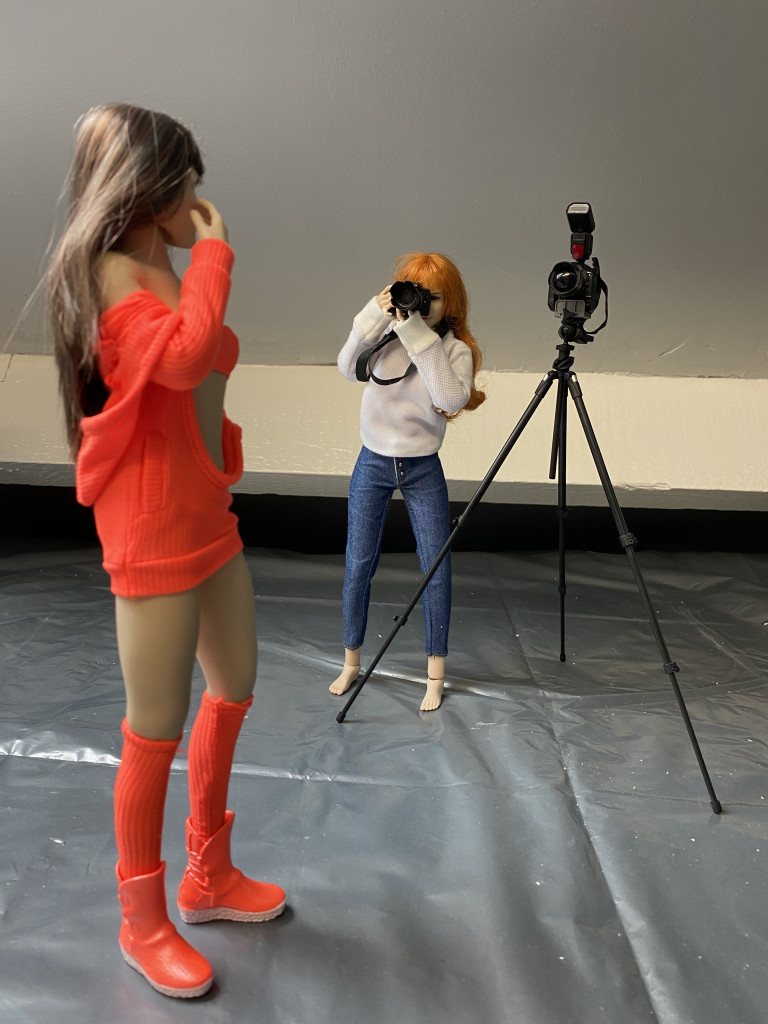
While I was working on that, I saw a camera tripod in 1/6 scale on fleabay... So needed to get that, and check it out. So here's Kat (remember her?) as the photographer, and Nat (yes, her sister) as the model.
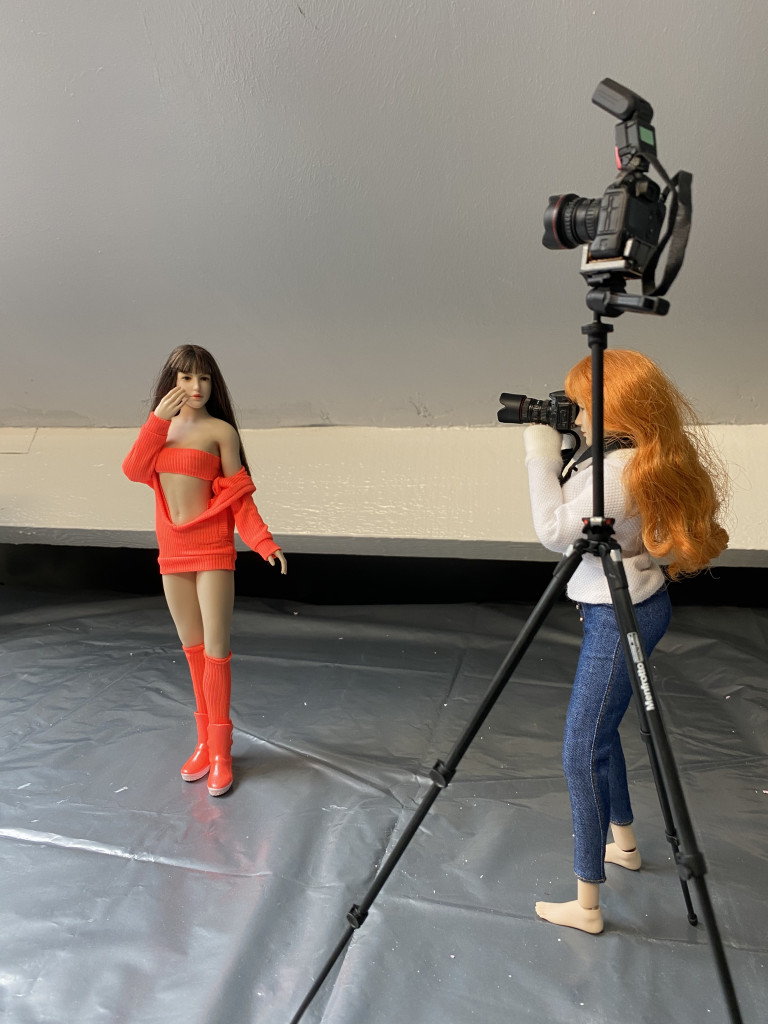
That's one huge tripod.... Oh, wait...
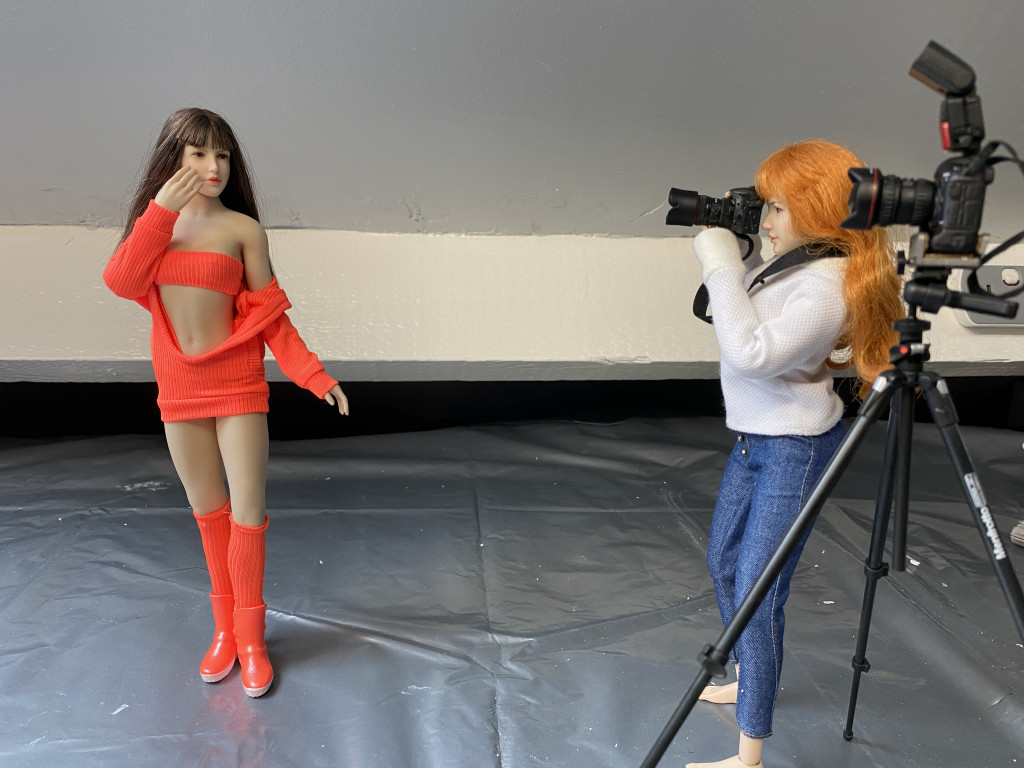
Hmm. That's better. The legs can adjust, and the center column can raise and lower, as well as turn upside down. Just like my real 1:1 tripod. Excellent... I was one happy camper.
Just for fun, another angle...
To be continued....